
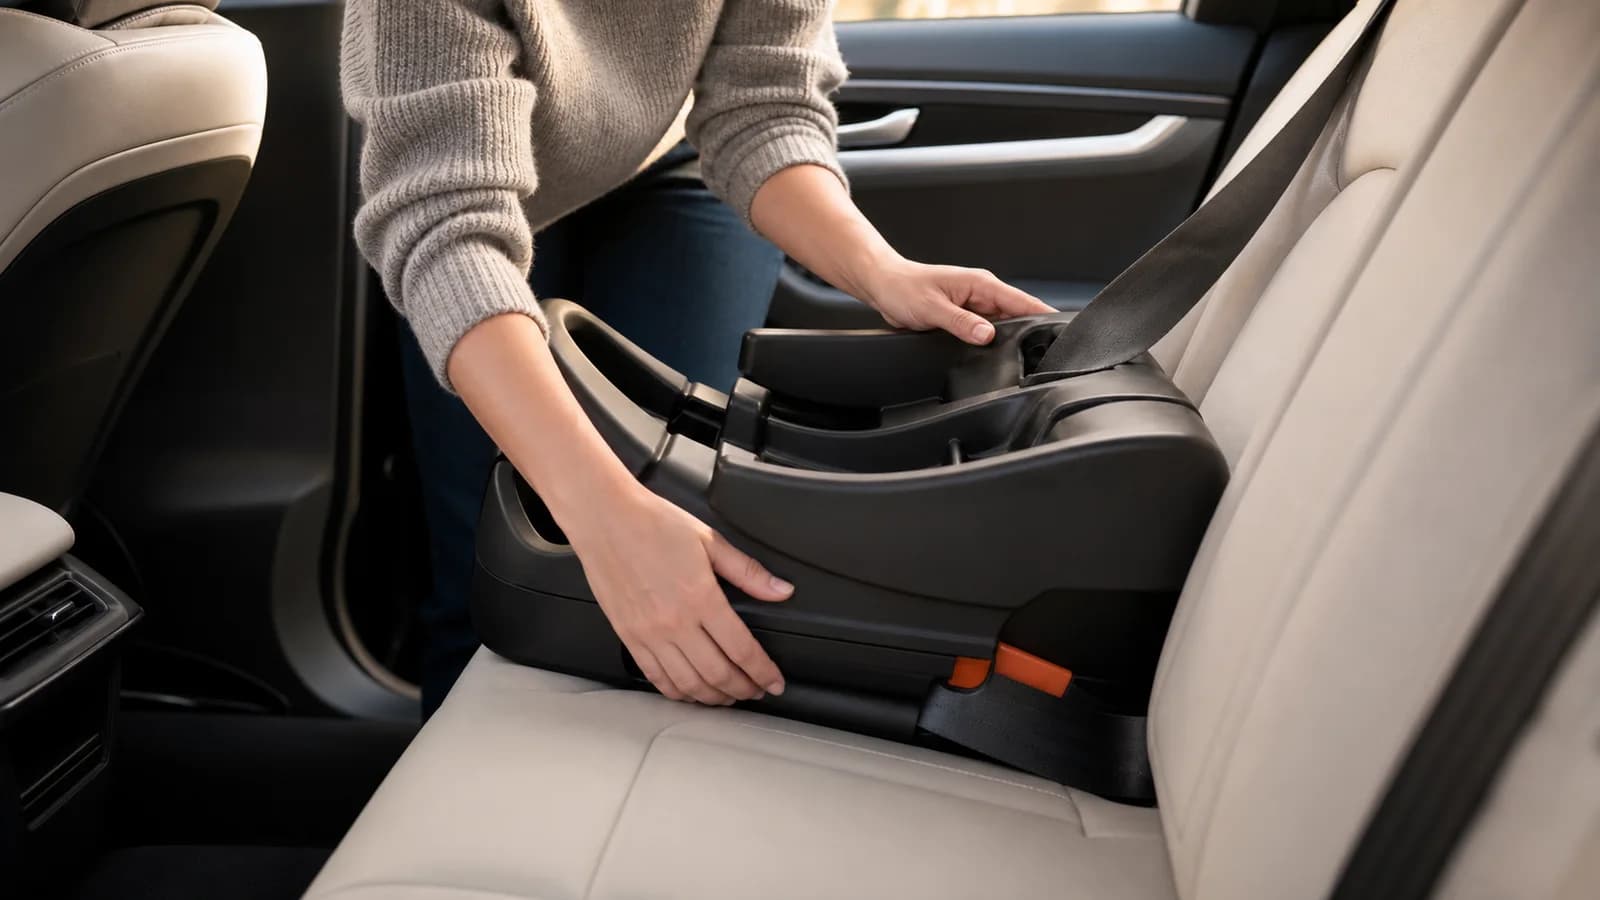
The Clek Liing has three distinct vehicle-installation paths:
- rigid LATCH with the base;
- a vehicle belt with the base; or
- a vehicle lap/shoulder belt without the base.
Choose one approved method. Clek explicitly says not to install the base with rigid LATCH and the vehicle belt at the same time.
Safety note: This page helps you understand the decision tree; it cannot replace the labels, your vehicle manual, or the illustrated Liing manual. Start at Clek's current Liing manual hub and select the manual that matches the seat's manufacture date.
Last verified: August 23, 2026. Installation rules can vary by manufacture date and vehicle. The label, matching Liing manual, and exact vehicle manual control.
Before installing
- Confirm the child meets every weight, height, head-clearance, insert, and harness rule.
- Read the vehicle manual for airbags, approved seating positions, lower-anchor locations, belt behavior, and floor-storage restrictions.
- Use a forward-facing vehicle seat with the Liing installed rear-facing; never place it in front of an active frontal airbag.
- Choose a seating position where you can complete a correct installation every time. Center is not automatically best if the manuals do not permit or support the method there.
- Remove unapproved seat protectors, towels, mats, and accessories.
- Check the restraint for damage, missing parts, expiration, and open safety notices.
NHTSA recommends testing the seat in the vehicle and offers free or low-cost help through its car-seat inspection-station locator.
Method 1: rigid LATCH with the base
Use this method only in a vehicle position with lower anchors that the vehicle manufacturer designates for that seating position. Do not borrow outboard anchors for a center install unless both manuals specifically allow it.
The official flow is:
- Rotate the load leg out of storage when it is allowed in that position.
- Extend the rigid-LATCH connectors.
- Connect both to the designated lower anchors and confirm their indicators.
- Bring the base snug to the vehicle seat back as the manual shows.
- Adjust the load leg and recline sled in the manual's order.
- Check tightness at the rigid-LATCH path and complete every final indicator check.
Use Clek's illustrated US base-installation video manual while working. If the connectors do not remain securely attached or the base cannot be installed tightly in that location, Clek says to choose another position or use the vehicle belt.
Method 2: vehicle belt with the base
The built-in belt tensioner is a major reason to consider the Liing. It lets the base work in positions without usable lower anchors and can be helpful in vehicles where rigid connectors do not line up cleanly.
At a high level:
- Rotate the permitted load leg out of storage.
- Open the belt tensioner.
- Route and buckle the vehicle belt exactly through the marked path.
- Remove the amount of slack shown in the manual and close the tensioner fully.
- Confirm both tensioner lock indicators are completely green.
- Adjust the load leg and recline sled, then check movement at the belt path.
Clek says red or partially red tensioner indicators mean the panel is not fully locked. If they remain red—or the base moves more than one inch where the belt passes through—try the official troubleshooting steps, another position, or rigid LATCH. See Clek's belt-tensioner indicator guidance.
Do not engage or skip a vehicle-belt locking mode based on generic internet advice. Use the current Liing manual and the vehicle manual for that exact belt system.
Adjusting the load leg
Clek says to install the base first, then extend and lock the leg until it contacts the vehicle floor and the pressure indicator turns fully green. If it stays red after locking, Clek directs users to extend it one more position. Follow the illustrated Clek load-leg adjustment steps.
Do not use the load leg to invent a new recline angle or aggressively jack the base off the vehicle seat. Use the recline sled for the carrier angle, then adjust the leg exactly as Clek specifies.
Underfloor storage compartments
A floor compartment can change whether the leg may bear on that spot. Clek says to install the Liing base with the load leg over a storage compartment only if the vehicle manufacturer approves it. The answer may differ by vehicle, model year, seating position, and whether an approved filler is available.
If you cannot confirm approval, choose another permitted seating position or installation method after consulting Clek and the vehicle manufacturer. Do not guess from how sturdy the lid feels.
Method 3: installing the Liing without the base
Clek allows the carrier to be installed without its base using a vehicle belt. The carrier uses a European belt path: the lap portion routes through the carrier's lap guides and the shoulder portion follows the rear guide, in the exact sequence and handle position shown in the matching manual.
Because belt geometry and locking rules vary, use Clek's baseless-installation video manual and the complete “Installing/Removing Car Seat Without Base” section in your manual. Do not infer the route from a photograph.
The baseless method is useful for taxis, travel, and secondary vehicles, but “no base” does not mean “no setup.” You still need the correct recline, locked belt, correct routing, permitted handle position, tight installation, and a proper harness fit every ride.
Final checks for every installation
- The carrier is rear-facing in an approved vehicle seating position.
- You used only one base-attachment method: rigid LATCH or vehicle belt.
- The base or carrier moves no more than the manual allows when checked at the belt/LATCH path—not by yanking the top.
- Recline is correct for the child's current weight.
- All required lock, tensioner, connector, carrier, and load-leg indicators show the manual's completed state.
- The carrier clicks fully into the base and passes Clek's lift/check procedure.
- Harness straps are at or below and closest to the shoulders, lie flat, and pass the pinch test; the chest clip is at armpit level.
- The newborn support components match the child's weight, shoulder position, and seat manufacture date.
- Nothing unapproved sits under, behind, or inside the restraint.
Common Clek Liing installation mistakes
Using LATCH and the belt together
Clek prohibits combining them on the Liing base. More attachment is not automatically safer; the seat is tested and instructed with specific methods.
Trusting a green load-leg indicator as the whole install
The leg indicator confirms pressure at the foot. It does not confirm the lower anchors, vehicle belt, recline, carrier lock, or child harness.
Using a non-designated center anchor spacing
The rigid connectors must attach to lower anchors approved for that seating position. If the vehicle does not designate lower anchors there, the vehicle-belt method may be the correct option.
Checking tightness at the carrier shell
Check movement at the belt or LATCH path as the manual shows. The top of a rear-facing restraint can move more and is not the correct testing point.
Choosing the wrong manual
Liing limits and support rules changed by manufacture date. The current US product is 4–30 pounds, while qualifying older US seats were labeled to 35 pounds. Use the label and matching manual, not a random PDF.
More Clek Liing help
- Clek Liing review and specifications
- How to set up the Liing load leg
- Clek Liing vs Liingo
- Clek Liing stroller compatibility