
This post may contain affiliate links. As an Amazon Associate I earn from qualifying purchases.
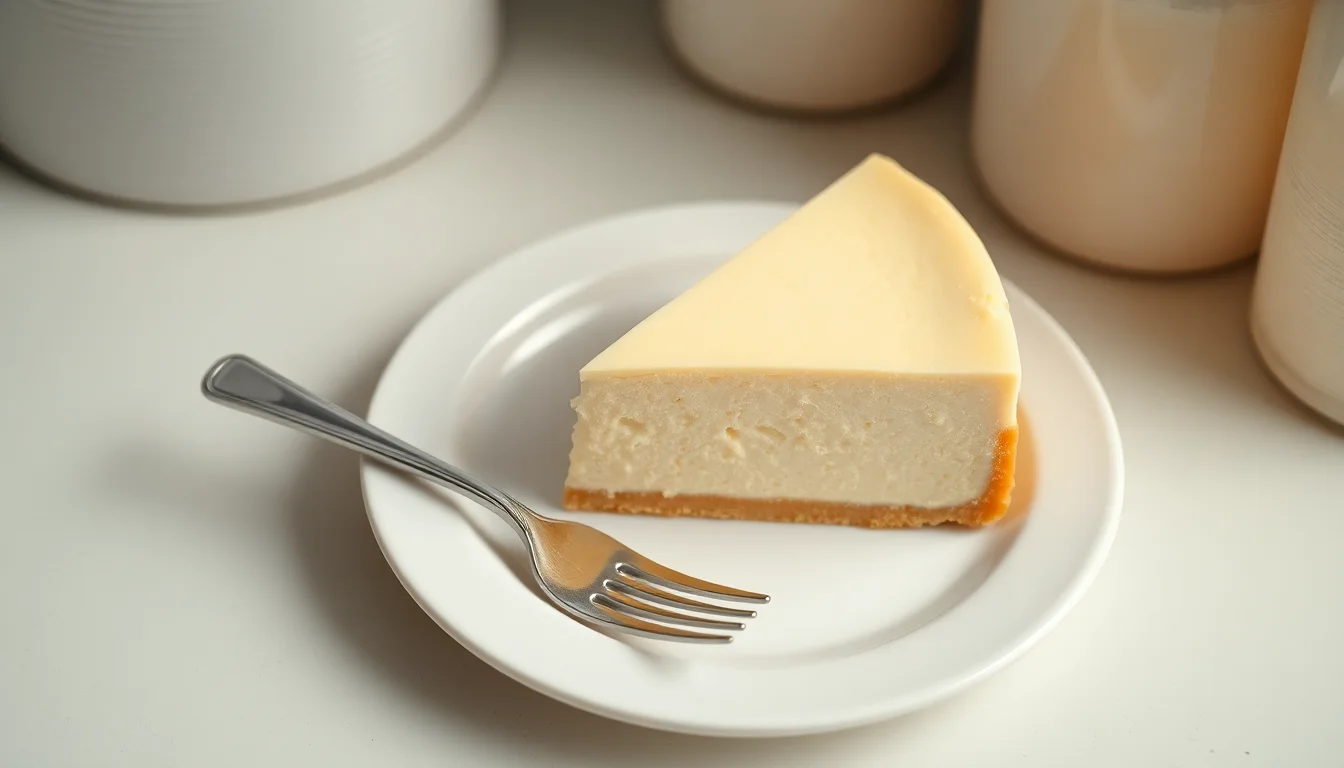
I have made the classic Philadelphia cream cheese cheesecake recipe so many times now that I could probably do the filling in my sleep. But the first one? That first one was a disaster. The top cracked. The middle was soup. I left it out on the counter to cool and somehow it tasted faintly like the dinner I cooked right before it. My husband ate a piece anyway because he is loyal like that.
So this post is the post I needed before my first cheesecake. It is the classic Philadelphia recipe from the back of the cream cheese box, plus all the small things that actually matter that nobody mentions on the box. If you are about to bake your first one, read the whole thing. If you have made it before and you are just here for the ratios, scroll to the recipe section.
The Real Ingredient List (and What You Cannot Substitute)
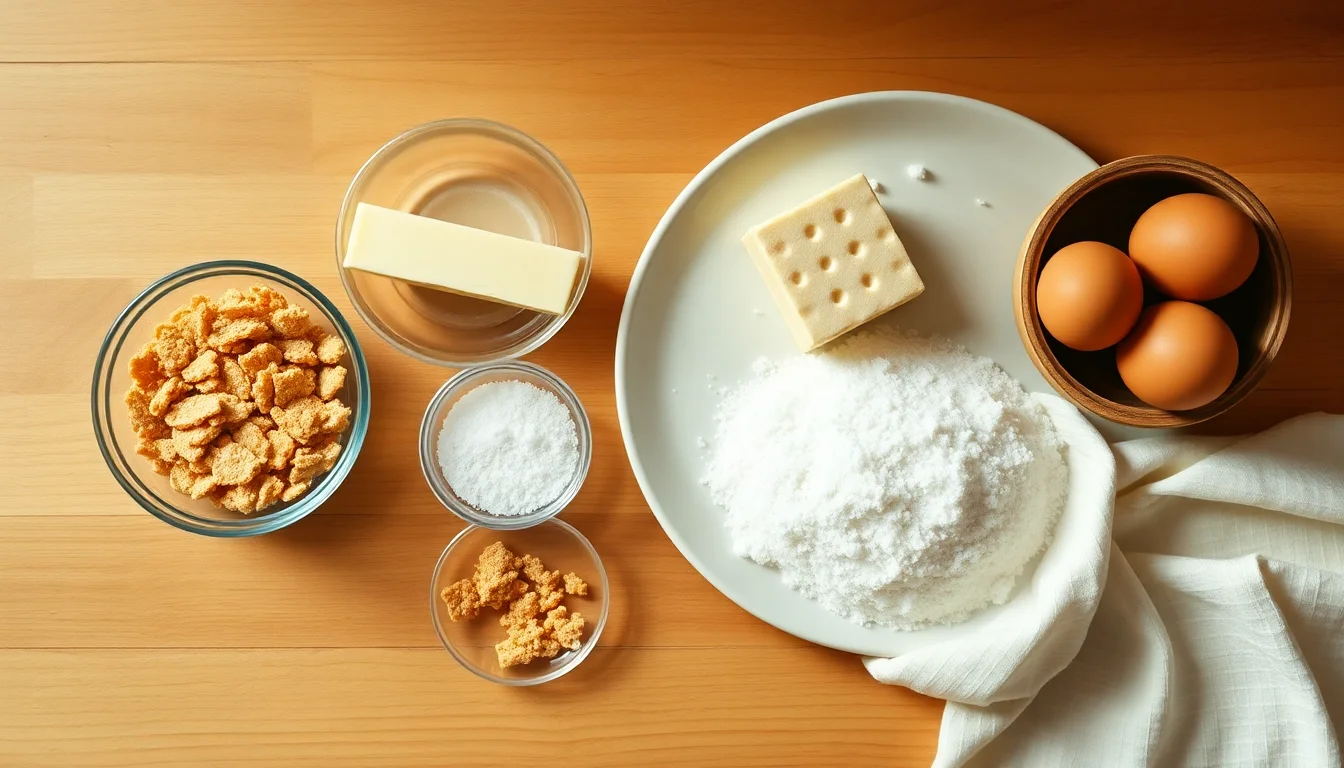
The classic Philadelphia cream cheese cheesecake recipe is built on five ingredients in the filling and three in the crust. That is it. The simplicity is the whole point. But that also means there is nothing to hide behind, so the quality of each one matters.
For the graham cracker crust:
- 1 1/2 cups graham cracker crumbs (about 12 full graham crackers crushed)
- 3 tablespoons granulated sugar
- 1/3 cup butter, melted
For the cheesecake filling:
- 4 packages (8 oz each) Philadelphia original cream cheese, softened
- 1 cup granulated sugar
- 1 teaspoon vanilla extract
- 4 large eggs
The two non-negotiables here are full-fat Philadelphia cream cheese and the eggs. I have tried store-brand cream cheese a couple of times in a pinch and it is genuinely fine for cheese spreads and cream cheese frosting, but Philadelphia really does behave differently when it bakes. It is smoother and it does not weep liquid. The eggs need to be fresh and large — small or medium eggs throw off the ratio enough that the filling will not set right.
Softened cream cheese is also doing real work. If you skip the softening step and dump cold blocks straight into your mixer, you will spend the next 15 minutes fighting little white lumps that will never fully blend in. Pull the blocks out an hour before you start. If you forget, unwrap them and microwave each block for 15 seconds on low.
The Tools You Actually Need
You can absolutely make this in any 9-inch round pan, but a springform pan is going to make your life dramatically easier when it comes time to slice and serve.
- 9-inch springform pan. This is the one tool I would not skip. The side of the pan unlatches and lifts away, so you do not have to flip the cheesecake to release it. A 9-inch springform pan runs around the price of a fancy coffee and lasts forever.
- Hand mixer or stand mixer. A wooden spoon will not get the cream cheese smooth enough for that classic creamy texture. A basic hand mixer is plenty.
- A large roasting pan. For the water bath. Has to be big enough for the springform pan to sit inside with at least an inch of space around the sides.
- Heavy duty aluminum foil. Specifically the wider 18-inch kind so you can wrap the whole bottom of the springform without seams. Heavy duty foil is sturdier and water-resistant.
- Vanilla extract. Use real, not imitation. You can smell the difference in the finished cake.
A digital kitchen scale is nice if you have one but not required. The cup measurements are forgiving enough on a recipe this small.
How to Make Philadelphia Cream Cheese Cheesecake, Step by Step
Here is the classic recipe, with the little notes I wish someone had pinned to my forehead the first time.
1. Heat the oven to 325 degrees F. Lower than that and the cheesecake takes forever and weeps. Hotter than that and the top will dome and crack. 325 is the sweet spot.
2. Make the graham cracker crust. Stir the graham cracker crumbs, 3 tablespoons sugar, and melted butter together until it looks like wet sand. Press it into the bottom of your springform pan. The bottom of a flat measuring cup is the right tool for this — really press it in. I learned the hard way that a loose crust falls apart the second you try to slice the finished cake.
3. Wrap the outside of the springform pan in heavy duty foil. Two layers, no seams. This is the moat that keeps the water bath water out of your crust. I have skipped this step exactly one time and the soggy graham cracker disaster still haunts me.
4. Beat the softened cream cheese, 1 cup sugar, and vanilla until smooth. Medium speed, 2 to 3 minutes. Scrape down the sides of the bowl twice. Lumps that are still there now will still be there in the finished cheesecake.
5. Add the eggs one at a time, on LOW speed, mixing just until each one disappears. This is the step where most cracking happens. Beating the filling at high speed once the eggs are in whips a ton of air into it. That air expands in the oven, pushes the top up, and then when it cools, the cheesecake collapses unevenly and cracks. Low and slow. Stop the second each egg is blended.
6. Pour the filling over the crust. Tap the pan gently on the counter a few times to release any air bubbles that snuck in.
7. Set up the water bath. Place the foil-wrapped springform in the roasting pan. Set the roasting pan in the oven on the middle rack. Pour boiling water into the roasting pan until it reaches about 1 inch up the sides of the springform. Pouring it once everything is already in the oven is safer — less chance of sloshing water over the foil edge.
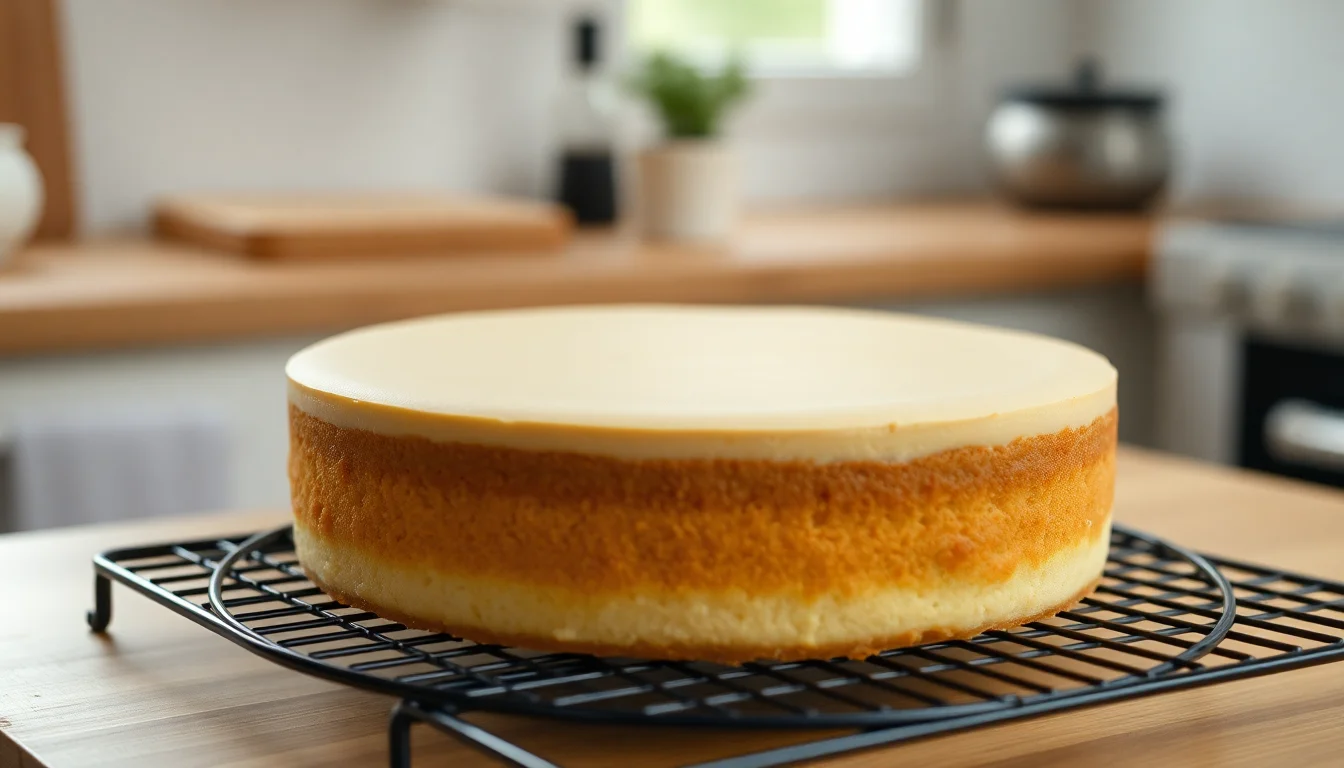
8. Bake at 325 degrees for 55 minutes. Check at 50 minutes. The cheesecake is done when the outer 2 inches are set but the center 3 inches still jiggles like Jello when you nudge the pan. It will finish setting as it cools. If you bake until the middle looks fully set, you have already overbaked it.
9. Turn the oven off. Crack the oven door open. Let the cheesecake sit in the cooling oven for one full hour. This is the secret to no cracks. Sudden temperature changes are what tear the top.
10. Run a thin knife around the rim of the pan. Do this while the cake is still slightly warm. It releases the cake from the side of the pan so when it shrinks slightly during cooling, it does not pull at the edge and tear.
11. Cool completely on the counter, then refrigerate at least 4 hours. Overnight is genuinely better. The texture and flavor both improve.
The Real Reasons Your Cheesecake Cracks (and How to Save One That Did)
The first cheesecake I ever made cracked right down the middle like a canyon. I cried a little. Then I covered it with strawberries and nobody at the table knew.
The four real causes of cracked cheesecake, in order of how often they happen:
- Too much air whipped into the filling. Mix on LOW once eggs go in.
- Oven too hot, even by 25 degrees. Get an oven thermometer — most home ovens are off by more than you would think.
- Cooled too fast. Leaving the oven door wide open or moving a hot cheesecake straight to the fridge is asking for cracks.
- No water bath. The moisture in the oven keeps the surface from drying and pulling.
Already cracked? Here is your damage-control list. Top with fresh berries. Top with a glaze made from warmed jam. Top with whipped cream and shaved chocolate. Cut it into individual servings and stand each one upright with a fruit topping so the crack faces away. Nobody will know. You will know. You will not care after the second bite.
How Far in Advance Can You Make a Cheesecake?
This is one of the great hidden gifts of a Philadelphia cream cheese cheesecake. You can make it up to 2 days ahead and it actually tastes better.
The day of plan, in mom-real-life time:
- Day before, late morning: bake the cheesecake.
- Day before, evening: it has cooled. Cover loosely with foil and put it in the fridge.
- Serving day, 30 minutes before: pull it out, add toppings, slice.
Or freeze it. A baked cheesecake freezes really well for up to 2 months. Wrap it whole in plastic wrap, then a layer of foil, then a freezer bag if you have one big enough. Thaw overnight in the fridge. This is how I bank cheesecakes ahead of birthdays and holidays without losing my mind the day-of.
Toppings That Work With a Classic Cheesecake
The point of the classic Philadelphia cream cheese cheesecake is that the filling is so simple it goes with basically anything. A few of our family favorites:
- Fresh strawberries macerated in a tablespoon of sugar for 15 minutes
- Warm blueberry sauce (frozen blueberries, sugar, splash of lemon, simmer 10 minutes)
- Salted caramel drizzle, with sea salt flakes on top
- Lemon curd swirled across the top
- Crushed Oreos and a drizzle of melted chocolate for a kid-friendly version
- Just whipped cream and nothing else, if you want the cheesecake to be the star
Want measurements to make sense? If you need to scale up the toppings for a bigger crowd, we have a free printable cups-to-quarts conversion chart that I keep on the fridge for exactly these moments.
What I Wish Someone Had Told Me Before My First One
Five things, in no particular order, that I wish someone had handed me on a sticky note before I baked my first Philadelphia cheesecake:
- The recipe is on the back of the cream cheese box for a reason. It works. Do not start with a fancy version on your first try. Bake the box recipe at least once before you start adding swirls and crusts.
- Soften the cream cheese for real. An hour on the counter, not 10 minutes. Cold cream cheese is the source of 90 percent of first-time-baker frustration.
- Buy more cream cheese than you think you need. I always grab one extra block. It is the kind of pantry staple you will use eventually, and there is nothing worse than realizing you are one block short at 9 pm on a Sunday.
- Use the water bath even if it feels extra. The first time I did it I was annoyed. The second time I did it I was a believer.
- Let it chill overnight. I know. I have been there too. You just baked this beautiful thing and you want to slice it now. Do not slice it now. Future-you is begging present-you to wait.
Frequently Asked Questions
Frequently Asked Questions
One Last Thing
If you take nothing else from this post, take this: a Philadelphia cream cheese cheesecake is not a hard dessert. It is just a fussy one. The ingredients are short. The steps are simple. The thing it asks of you is patience — soften the cream cheese, mix on low, bake low and slow, cool slow, chill overnight. Every single step is about going slower than feels reasonable.
The first time you do all five right, you slice into a creamy, smooth, unbroken classic cheesecake and you think, oh. So that is what people are talking about.
Then you make it again next weekend and you start adding berries and chocolate and lemon curd, and you become the person in your family who brings the cheesecake to every birthday. It happens fast. You have been warned.
If you are baking for Mother's Day, a birthday, or just because, this is the right recipe. And if you want to keep your kitchen sane while you scale recipes, our cups and quarts conversion guide is the printable I wish I had taped inside my pantry door years ago.